
How To
Capture any image on any Mac
"If there were no other reason to own a Mac, this would be enough."
|
SHIFT 4 |
1. Press the KEY combo
COM-SHIFT-4 to change the cursor ![]() into
a crosshair
into
a crosshair ![]() which can then be click-dragged to frame any portion of any image viewable
on your Mac or on the internet.
which can then be click-dragged to frame any portion of any image viewable
on your Mac or on the internet.
2. When you release the cursor, you will hear a camera 'shutter' sound and the captured image will appear on your desktop as a PNG file called 'Screen Shot' with date and time. Every image on this page was made by using the COM-SHIFT-4 technique.

3. The Screen Shot can be opened in Preview, renamed if desired, and 'saved as' a different format (such as a JPG, TIFF, or GIF).
 Save-As-Options.gif
Capture a Group of Images
1. To capture a group of images, open several images on your desktop, arrange by overlapping, then capture with COM-SHIFT-4.

2. Create your own 'graphic images' for web design. For example, use TextEdit to type a letter.
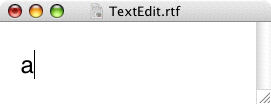
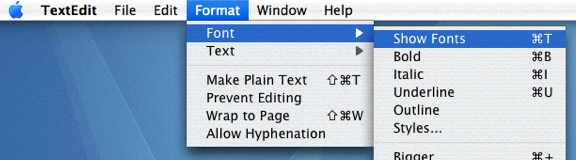
3. Open the TextEdit Font Window (Format>Font>Show fonts).
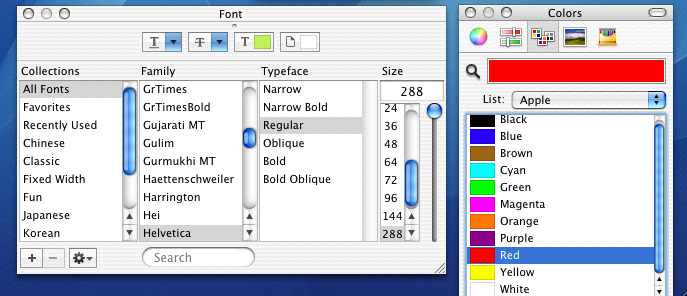
4. Adjust size, font color and background color as desired. Repeat for additional letters (B,C).
5. Open all files you created. Adjust positions of the windows, then capture any portion with COM-SHIFT-4
.
6. Open resulting PNG file, rename and save in any graphic format desired (PNG,JPG,GIF, etc).

Capture a Complete Window
(This is especially useful for capturing an image during live video transmissions such as Skyping)
1. Click combo COM-SHIFT-4 and then press SPACEBAR to activate Cam icon over a specific window - click to capture.
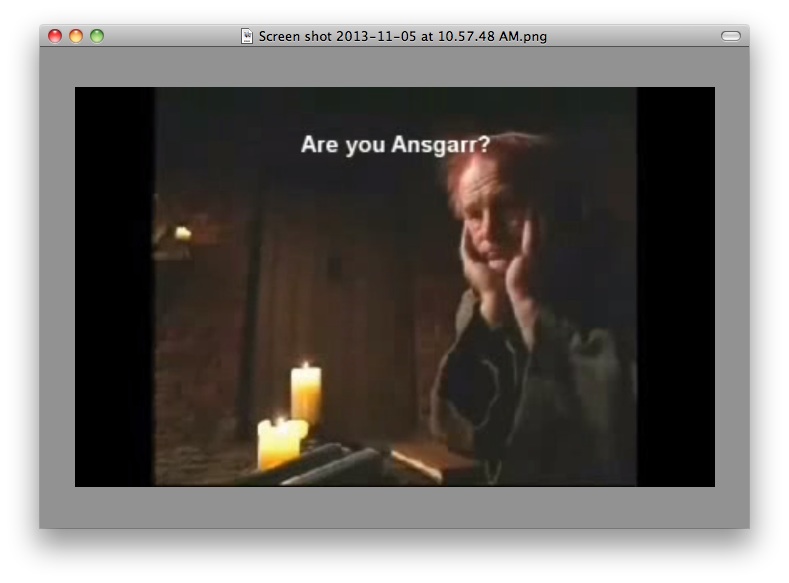
 Example below: captured
frame from
The First
Help Desk using COM-SHIFT-4 plus SPACEBAR
Example below: captured
frame from
The First
Help Desk using COM-SHIFT-4 plus SPACEBAR
See ALL Keyboard Shortcuts here.
Hammondsport Mac Users Group
- Hammondsport, NY 14840 - www.hportmug.com